When it comes to gardening, my wife likes order and I like chaos. She likes raised beds and neat rows – I like hacking holes in the ground and throwing seeds around. I like mixing everything together – she likes keeping things sequestered.
Our styles are very different but between the two of us, our plots are much more productive than they would be with either of us alone. Her preferences dial me back a bit… and my experimentation stretches her. As I’ve posted on before, I built Rachel some raised square foot beds in the Mel Bartholomew mold. One of the first of those was made from cinder blocks but I never liked the open industrial look or the weeds that came out of the holes in the blocks. Another thing I didn’t like was the amount of water we had to give the plants in it. We went with 6″ of Mel’s Mix over weed cloth. The plants did well but needed quite a bit of water.
That’s all changed now. I found an aesthetically pleasing and water-retentive way to re-invent this bed by melding the wisdom of Sepp Holzer with the neatness and order of Mel Bartholomew. This is similar to my Melon Pits, but contained by lovely Bauhaus-style concrete. Well… at least they WERE Bauhaus before I busted out the tiles and mortar.
Behold! The Hugelfoot Bed Of Mosaic Cinderblock Incredibleness!
Isn’t that cool? And it’s not just pretty… it’s a super-duper raised bed – now with hugelkultur goodness.
What makes this bed special? Let me show you:
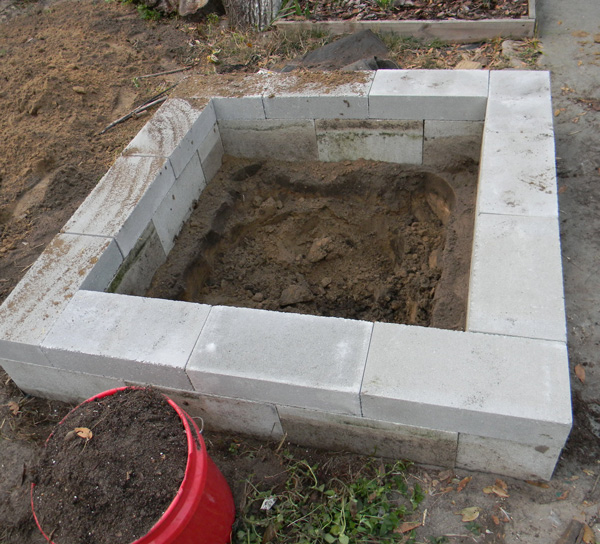 Here’s the foundation. I put solid cap blocks on top of standard hollow cinderblocks. After I leveled everything, it looked nice, clean and solid. I then dug down about 2′ further.
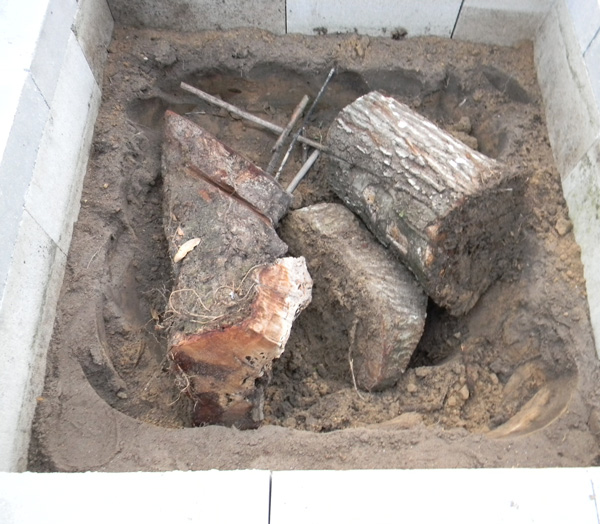
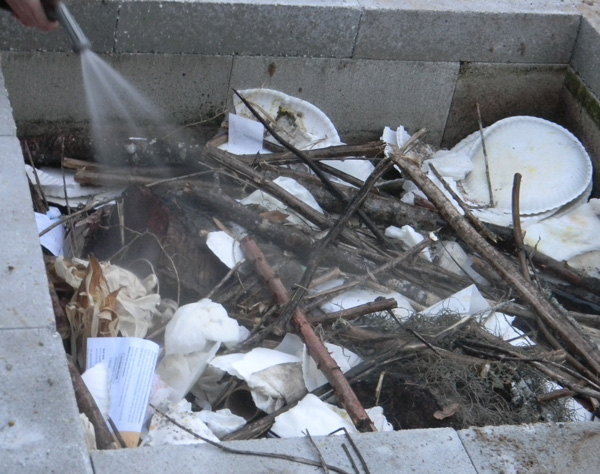
After that, it was time to throw in waste paper, junk mail, old paper plates, sticks, moss, corncobs and other carboniferous debris.
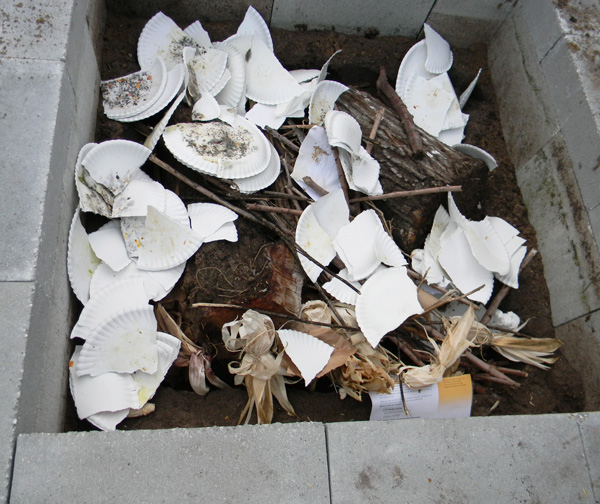
Yeah, that needs a stomping!
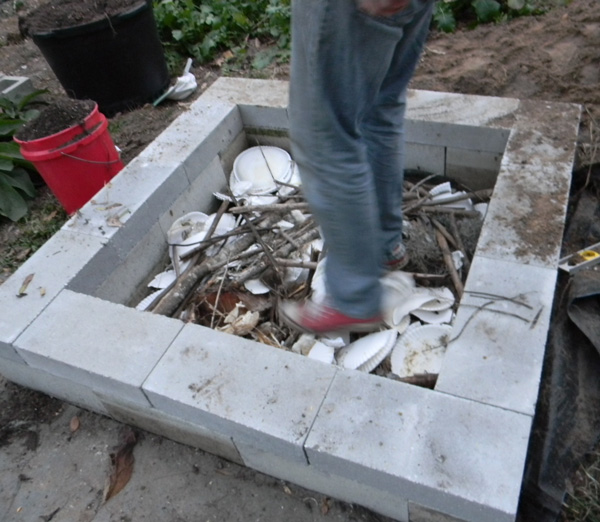
Ah, that’s better. Now time to water everything in.
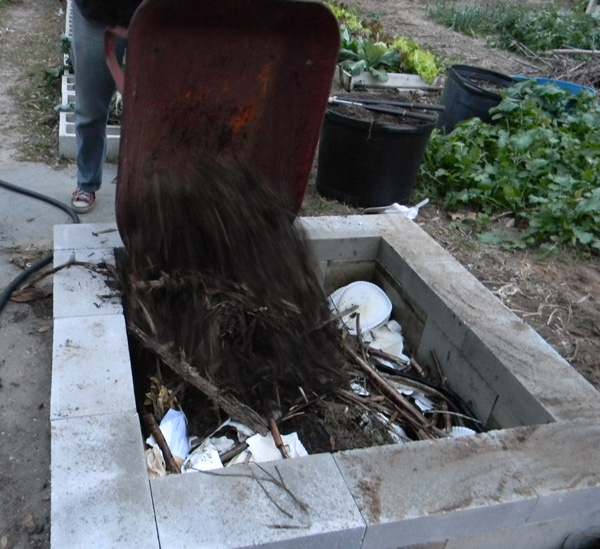
Then I put in a heaping load of mostly finished compost.
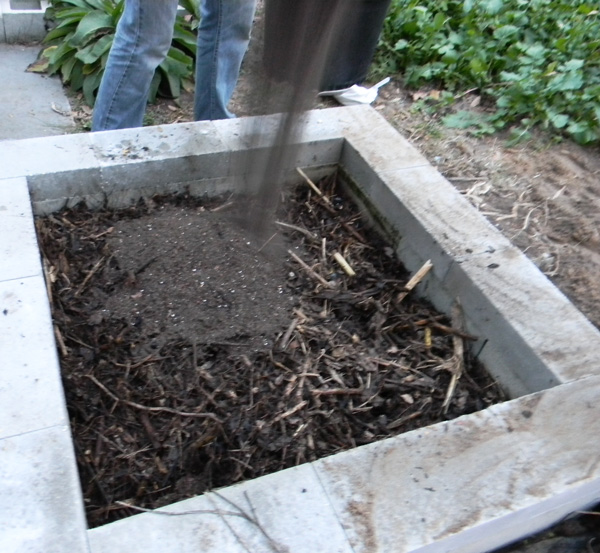
That completed, I topped it off again with the original 6″ of Mel’s Mix.
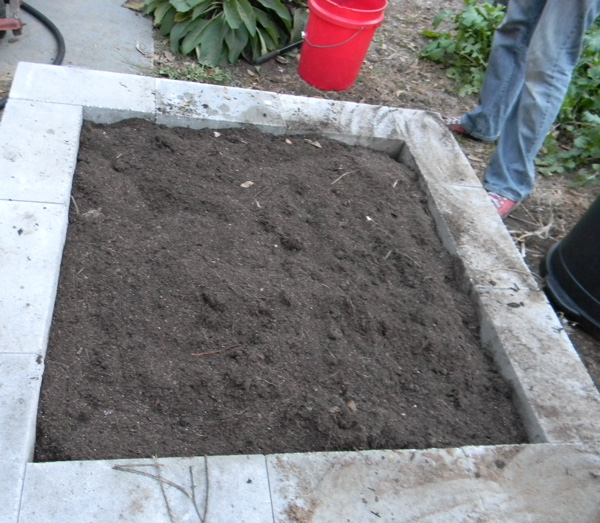
And voila! Magnifico!
That looks good enough for most people. But I’ve been itching to do more mosaic work, so the kids and Rachel and I had a mosaic day. I assigned each of the older children a solid cinderblock and let them have at it. The next day, I did a few, then the day after that, Rachel and I did the rest and grouted everything.
Here are a few shots of the mosaic:
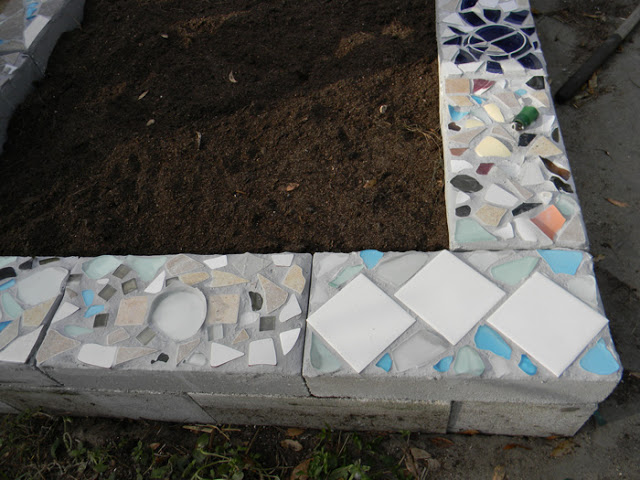
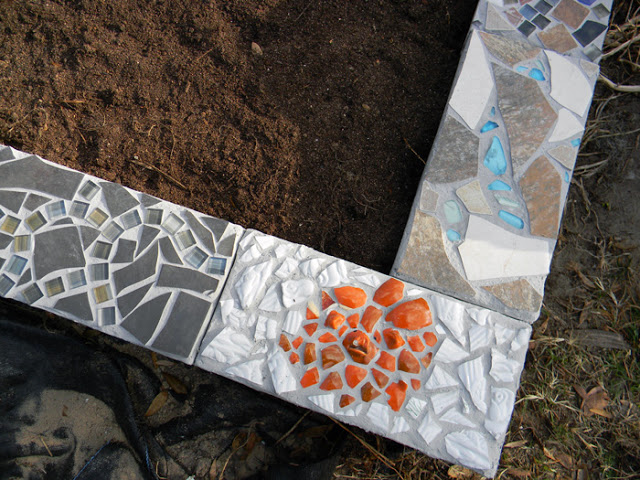
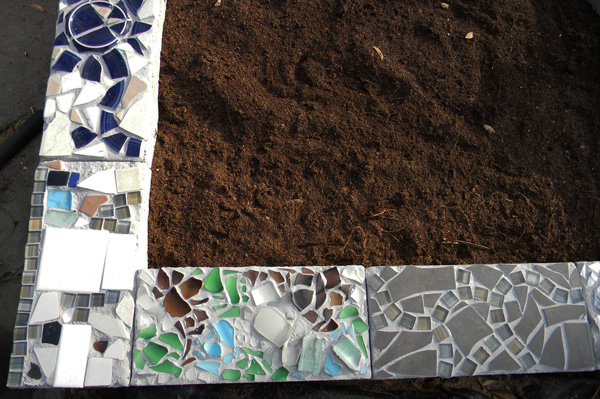
As it is, this bed has about 36″ of depth, plus tons of compost and a wood reservoir in the bottom. My hope is that this marriage of hugelkultur and square foot gardening will meld the strengths of both.
Here in Florida it’s tough to keep things watered and happy in the heat of late spring… we shall see how this bed performs.
If it works significantly better than my other beds, I’ll do the same with them (though I’m not sure I’ll have time to mosaic everything!).
For mosaic inspiration, I highly recommend this book:
For Square Foot Gardening, get a copy of this book:



32 comments
What a great idea! I'm gonna give it a try.Love the mosaics!
Sounds familiar. My wife wants me to put in raised beds. Great idea.
Good idea — I have lots of "left over" tile I can use.
Thank you, guys. One of the best things about this project was how inexpensive it turned out to be. The glass is from broken bottles I put through my rock tumbler… the tiles are from a big bin of broken pieces I bought from Home Depot for $7. The most expensive part was the cinderblocks, and they're pretty cheap.
This is how mine are built, only not as deep. the only suprise was that the banana log I put in one bed actually shot up a baby banana tree. rooky mistake..
I dunno… sounds like a feature, not a bug. Ha!
That sure is some swank hugelkulturin'. Nicely done. I especially like the family collaboration on the mosaics. Neat story.
I decided against raised beds this year but for hugelkultur. Actually, it's a hybrid of double-digging and hugelkultur:
1. Dig 8'x 2'x 2' bed, making sure the top grass layer is laid aside separated from the rest of the sandy soil.
2. Loosen the bottom with pitchfork.
3. Lay in a combination of oak logs (some decomposed, some fresh, some charred).
4. Throw in ash, small sticks and other filler around the logs,
5. Shovel back in a few inches of soil, wet it down.
6. Throw the grass layer back in upside-down
7. Shovel as much of remaining soil back in until level.
8. Throw about 6" of heavily-composted soil on top.
9. Mulch with wood chips and leaves.
Sounds elaborate but when you do it all in order it happens fairly fast. The finished bed starts off about 6" raised, but gradually settles to about ground level, and stays nice and wet. So far, things are really growing nicely in there, outperforming the rest of my garden.
That's an impressive system – send me photos if it does well (and photos of some of your process, if you have 'em), and I'll make a post on your method.
Aye-aye, Cap'n.
Glad to find this article, this spring I'm trying my first hugelkulture raised beds (2) as well – with concrete blocks (had some leftovers from other project). One thing that I'm concerned about is the concrete "baking" the plants. I'm going to experiment with having plants such as Purslane on the edges draping over the concrete – from what I understand they love heat so it could be a win/win.
Anyhoo, I look forward to hearing updates on your garden and will visit again. Thanks!
Thank you.
We haven't had too much trouble with the heat (at least that I can tell). Purslane is always a good choice, though.
That is a fine looking bed. Interested to hear how it works out.
Thank you. I hope the pleasant aesthetics make the plants happy. ;)
Why didn't you install a watering system? slacker.
Watering systems are for wussies.
Wonderful idea…! I love the mosaics….I have to pin it..:)
Thank you – I appreciate the pin!
Do you have an update on how the success of this raised bed? We are hoping to build a raised bed in SW FL and are currently investigating our options. Cinder block seems to be a steep competitor due to the expense and upkeep.
I am a fan of raised beds. I like the angular look, the ease of keeping the weeds out, the neatness. This one goes one better, by the sheer beauty of the mosaics. I love that you under-pinned it with hugelultur. Great idea!!
Yes; on the down side, though, raised beds tend to drain really fast on sandy soil and require more water. The hugelkultur was an attempt to counter that. Thank you.
Are you able to give directions on how to do the mosaic work please
I basically just glue down the tiles with mastic, then when that dries, I grout in between them and wipe it off with a damp sponge until all the joins are nice and even. You’ll find better tutorials on YouTube for that, though – it’s not hard.
[…] Tutorial/Source: thesurvivalgardener […]
[…] Tutorial/Source: thesurvivalgardener […]
[…] Source: thesurvivalgardener.com/ […]
[…] Or you go really crazy and mosaic the top! […]
[…] so this is really fun in the garden. ‘The Survival Gardener‘ created a mosaic planter that is also a raised bed! He did this with cinder blocks, and his […]
[…] Or you go really crazy and mosaic the top! […]
[…] as you can, but what will make it special is the multiple mosaic patterns in the border. Click here for the […]
[…] pretty and economical! Use the art of mosaic (with broken, left-over tile, broken wine glasses, etc) to decorate the tops of your cinder blocks […]
[…] Mosaic Garden Beds: https://www.thesurvivalgardener.com/a-hugelkultur-cinderblock-raised-bed/ […]
[…] I know it sounds crazy, but now that I have a permanent location, I think it would be fun to build a few raised beds for salad greens, like this one I built with my children long ago: […]
Comments are closed.