I learned this method for rooting cuttings back when I was a Master Gardener.
It’s an easy method to propagate plants and you’ll get much better success rates than you will with uncovered pots.
In this video, you will see how it’s done:
Now let’s break it down step by step.
Rooting Cuttings the Easy Way
If you’re tired of abysmal strike rates on your cuttings, this simple system will help.
First, take your cuttings.
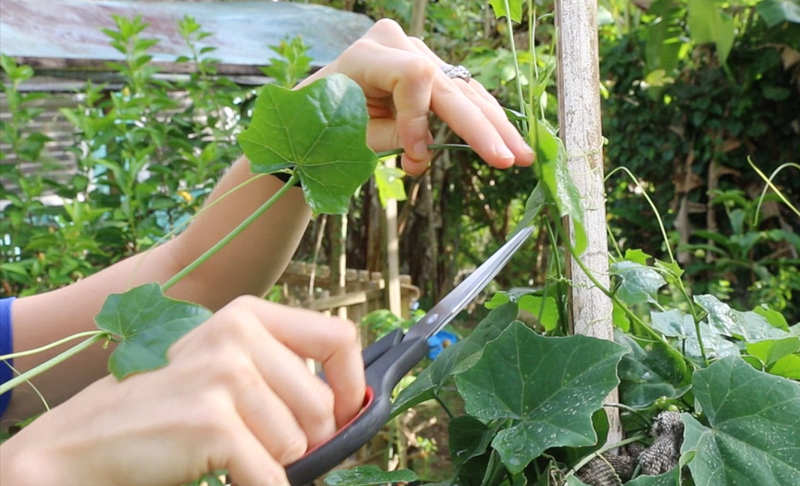
Those are Coccinea grandis vines, AKA perennial cucumber, AKA ivy gourd.
Since this vine does not produce viable seeds, it can only be propagated from cuttings.
Each cutting contains two nodes. One will be buried to produce roots, the other will produce new leaves and vines.
Now it’s time to fill some small pots with loose, moist soil.
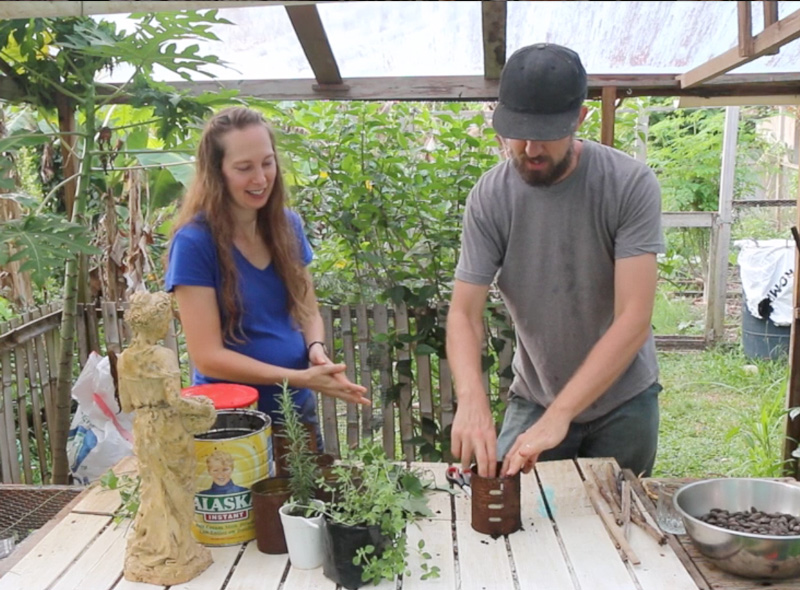
The “pots” we’re using are just old tomato sauce cans with holes punched in their bottoms for drainage.
Now it’s time to stick your cuttings.
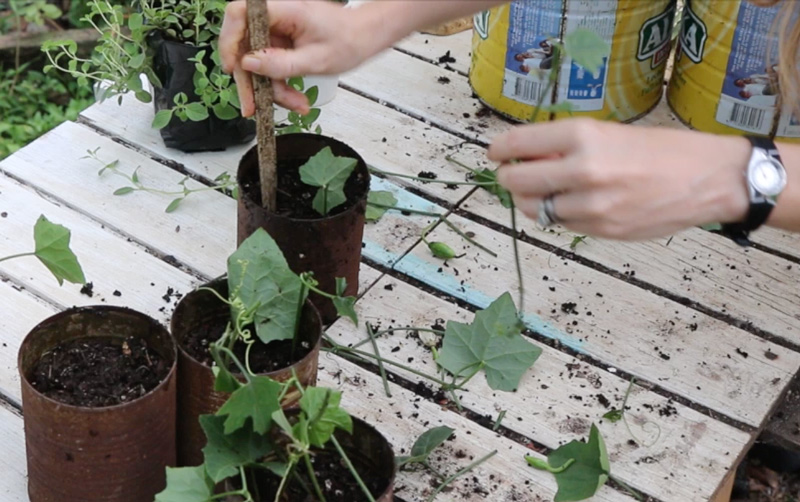
Rachel is using a piece of bamboo to make holes. Cuttings can be damaged and may rot if you stuff them into the ground. It’s better to punch a little hole, then pop them in.
These vines root very easily so we’re not using any rooting hormone on them. If you have something that’s a little harder to root, dip your cuttings in rooting hormone before planting.
Pop them in the hole made by your piece of stick, then firm the dirt around the stems.
Now it’s time to start making our mini greenhouse.
Take a stick and put it in the middle of the soil, pressing it in so it’s firmly upright.
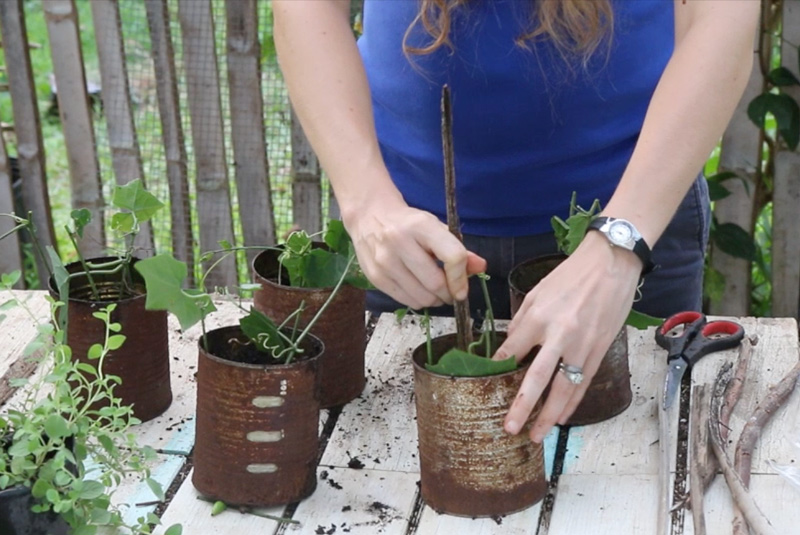
Now put a clear plastic bag over the stick.
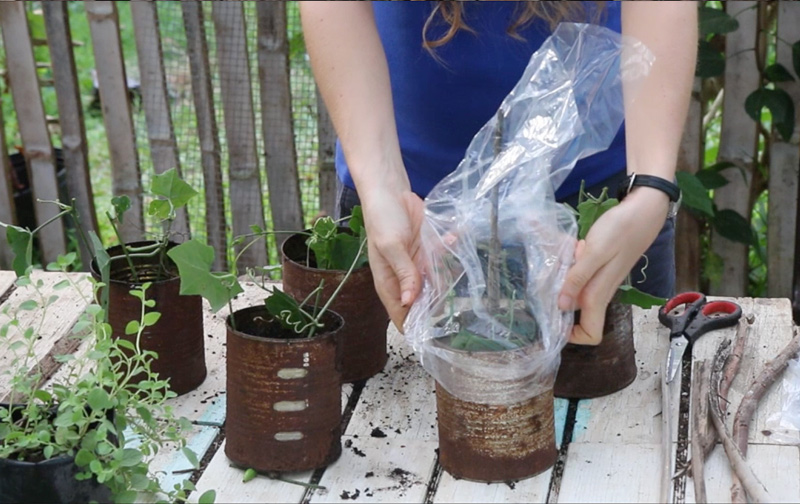
White grocery bags will also work, though you can’t see your cuttings as easily.
Now rubber-band that bag into place.
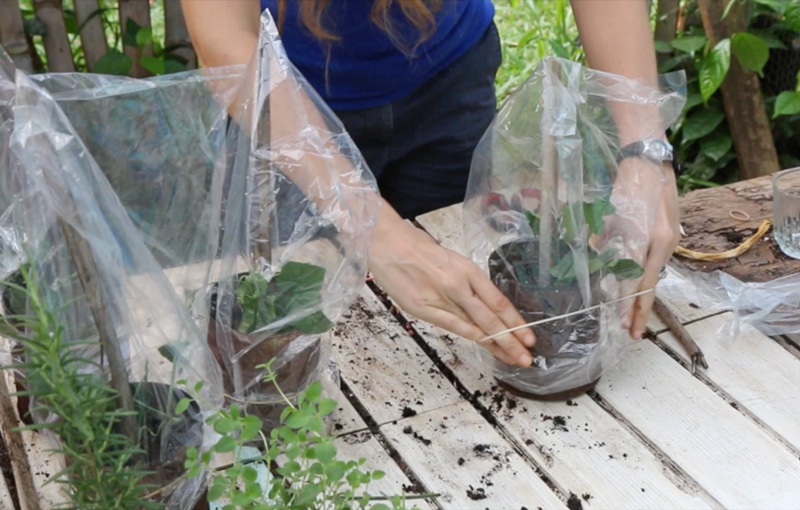
Once you’ve bagged up these pots, place them in the shade. If they’re in the sun, they’ll cook.
Open them up every few days to let a little air in. I like to blow into the bags to give them some extra carbon dioxide, but that’s just me.
After a few weeks, your cuttings should start rooting. When they’re firmly rooted, remove the bags and plant them up in pots of their own.
Rooting cuttings the easy way takes a few minutes and cheap materials.
Try it at home – you’ll be impressed by how well it works.
Enjoy this article? Pin it!

2 comments
I put together my own mini-greenhouse last night using a small plastic pot, a piece of plastic off the garage floor and a peach tree pruning that didn’t root.
I also used a cutting from my ivy gourd plant.
Keep ’em coming!
love to see you work
Comments are closed.