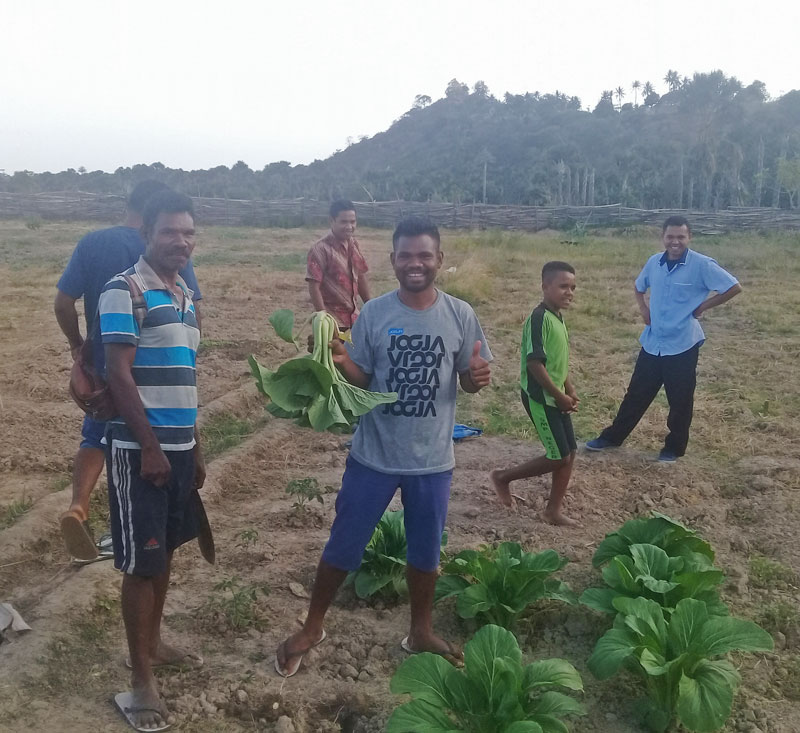
When I was in Indonesia I visited the children’s garden behind a Lutheran school.
At one corner of the larger garden area, there were some small mounded beds covered with transplants. As they grew, they would be transplanted out into the larger row gardens.
Different children maintained different beds and carried water to their bed locations. Some of the vegetables they grew were sold to pay the school tuition, others were shared with the neighborhood, and others were given to their parents or sold at market for a little income.
Though it was the dry season, there were still some beds being planted. Here are some of the school staff with some fresh pak choi.

The idea of having a small bed just for transplants has a few benefits.
1: Sketchy Seeds can be Vetted
If you have seeds of questionable quality or age, you can plant them into a small bed or flat first before dedicating a row of your garden to them. I plant my older seed packets in a flat or a bed first in case they don’t come up. That’s better than having a nice, long garden row with lots of gaps in it. What seeds do sprout and grow well can then be transplanted out.
2. You Can Take Better Care of Your Germinating Seeds
It’s nice to be able to start seeds in a little bed with good soil right near the hose. Young seedlings are quite vulnerable to pests, poor soil and drying out, more so than larger, established seedlings. I might only visit my row garden once or twice a week, but I’ll be next to that little bed off the patio much more often and can head off problems immediately.
3. Growing Your Own Transplants Saves You a TON
The price of transplants is getting ridiculous, as I share in my new video on making a small transplant bed.
ONE BUCK per transplant! That’s crazy!
But I can get 200 seeds in a packet for about $2. That’s $0.01 per transplant if they all germinate.
4. It’s Simpler Than Planting Flats
I have started lots of transplants in plastic flats over the years. It works great, but it takes more time to fill them with soil, plus they wear out quickly. They also dry out faster than in-ground beds.
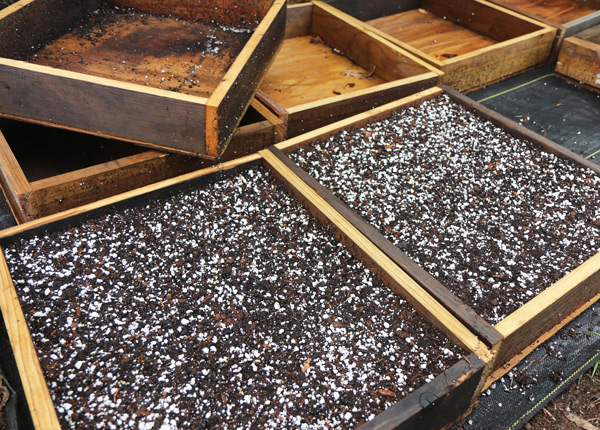
An intermediary method is the one used by John Jeavons, where you plant your seeds in undivided wooden flats, like this:

I like that method too. It’s useful if you need to move your transplants in and out of cold weather or harsh rain events.
Conclusion
One commenter remarked on my use of pressure treated wood in the video we just filmed on this method of making a transplant bed.

I have heard that the new pressure treated wood isn’t that toxic, but it’s a fair point. I used it because it lasts a long time and it’s convenient.
Perhaps a poor choice! You shouldn’t choose food that way. “Long-lasting and convenient.” NOOOO! I’ll pass on that.
Anyhow, you don’t have to use pressure-treated wood. You don’t even have to put borders on your beds.
But, with this in mind, I’ll probably go cut some popcorn trees for upcoming beds. That’ll be a fun video.
Whatever you do – be sure to start your own transplants whenever you can, otherwise you’re burning money.
Have a great weekend, you beautiful people. The weather is cooling off and the fall gardens are calling.

7 comments
That bed was in shade at the time…does it stay in shade the while day?
No – I record in the morning and evening when the shadows are long.
Thank you, one more thing to add for starting plants.
Also, you make a very good looking garden space. Very nice.
Thank you
Now I have to go watch Galaxy Quest. Again… and plant my fall seeds of course…
I saw David do a video like a month ago about outdoor seed beds. So as usual i dove right in. 2×4 boards made 2’by4′ frames in 4′ beds. I put in 3 different choys, Japanese mustard, and a flat leaf something (I lost the spoon marker) the broccoli failed but the “weed” that came up was mostly lamb’s quarter. So it gets to stay because i love lambs quarter in asian style noodle soups. Picture in email Still searching for temperate yams. I want 4 or 6 lb calorie dense roots too!
Nice!
Comments are closed.