When I was a little kid and read about grafting for the first time in the book Florida Gardening, I was fascinated… but I also didn’t really understand what a wide world it opened up.
Later, as a grown-up gardener, for years I was afraid to screw it up and just never got around to it.
Really pathetic, in retrospect.
My latest video on YouTube shows you some easy grafting I did this spring:
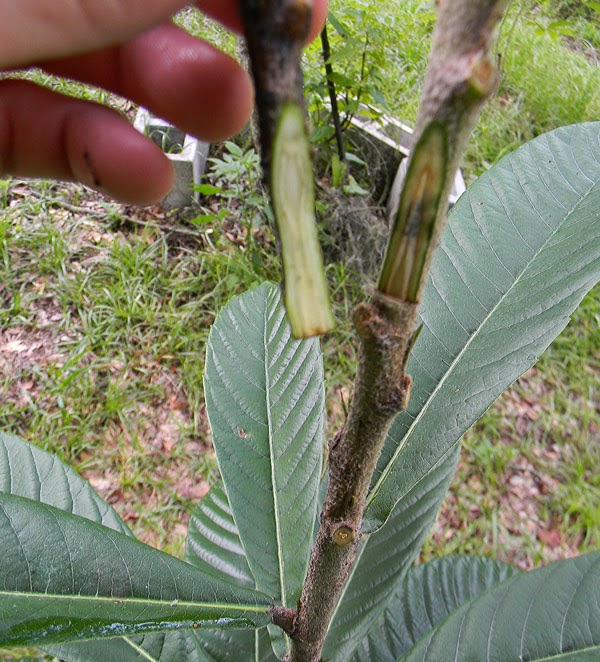
Those grafts are whip-and-tongue grafts. They’re not the easiest graft you can do, but they have a really high success rate and aren’t at all hard to learn. Loquats also do really well with the “side veneer graft”, which you can see in this post.
So, want to do some easy grafting of your own? Here are my suggestions
The Easy Grafting Quick-Start Guide
1. Determine what you want to graft and why.
I am very interested in improving seedling trees and wild natives to get a maximum amount of great fruit for a small amount of work, so I started with a wild Chickasaw plum and loquat tree seedlings.
The reason I find the wild stocks so interesting is their ability to sail through adverse conditions that might kill a nice, nursery-grown tree.
Chickasaw plums will thrive in terrible soil, beat nematodes and just keep on kicking in conditions that would kill a peach or a cultivated plum. Seedling loquats planted when young and allowed to establish before grafting are also really tough. I’ve seen them growing wild in the woods, no care required.
2. Pick Your Graft Type and Practice It
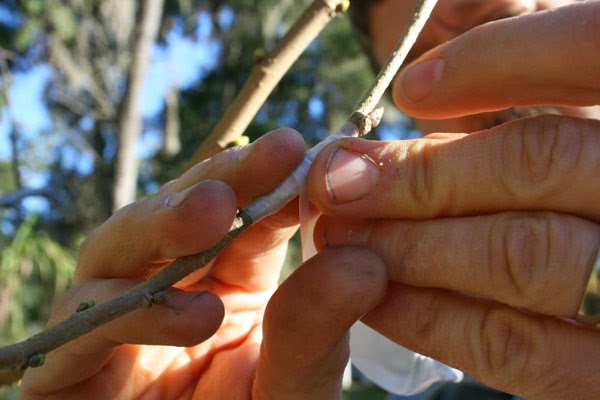
When I first started, I kept some of the semi-hard wood off a peach tree I pruned for grafting practice. That evening I sat at the table with my favorite little garden knife and made practice cuts and joins while looking at grafting diagrams. (NOTE: This book is a great grafting guide with tons of info but this one is plenty good for beginners and it was my starting point). Side veneer grafting is easy once you do a little practice. Lining up the tongue is a bit tricky at first, but it’s a great benefit when you go outside to graft since it holds the scion in place while you wrap.
3. Get Your Grafting Stuff
You don’t need a cool knife or special tape. They’re nice, but not necessary. I like parafilm for wrapping scions and I really like this stuff for keeping them protected from drying out, but in a pinch you can use electrical tape, flagging tape or even duct tape. For a knife all you need is a simple razor knife/utility knife.
4. Go and Start Grafting!
Pick branches that don’t matter first if you’re worrying about screwing up. The trick is to just MAKE YOURSELF DO IT the first time! That’s really the barrier to overcome.
The best time to graft temperate trees like plums, peaches, apples, pears, etc. is in the early spring when they’re just starting to wake up; however, loquats can be grafted at any time of the year, though the success rates are lower in the heat of summer. Citrus is usually bug-grafted in the summer. Haven’t done that yet – but soon!
Conclusion
Easy grafting isn’t a matter of it being dead simple: it’s just a matter of you giving grafting a try and then warming up to it. I showed my wife how to graft this spring and her VERY FIRST graft took beautifully.
The trees are pretty patient with us… give it a try and soon you’ll be grafting like a pro.


5 comments
Have you ever tried or had success with air layering? I have tried it twice with a bay laurel and never had any luck!!
Yes. When I was a teenager I successfully air-layered an orange tree. I did the exact same air layering on a mango multiple times and had no success at all.
Later, I found out that some trees air layer quite easily and some don’t. I believe laurels are in the latter category.
Thank you..Great post and lots of useful information..my first attempt at apple grafting didn’t go well. So, I’ll be using this for guidance.
Time of year helps a lot with apples, as does keeping the grafts from drying out. I usually paint the join and the entire scion with grafting compound after tying it tightly with tape.
try tip or simple layering on the bay laurel.And when you think that it’s ready leave it for a few more months.Then cut and plant and keep moist and shaded til new growth appears.We went from spring to spring to get ours to take successfully .
Comments are closed.