How to Make Wild Grape Jam – A Guest post by Rachel the Good.
Hello! This is Rachel again.
Quick question…have you ever had your husband walk through the door with a massive amount of produce and say something like, “Woohoo! Look what’s ready for harvest! We could eat for a couple of months on this, isn’t it great?!”
This, my friends, is where the rubber meets the road. It’s all well and good to grow the majority of your own food, but you actually have to eat it as well. When you go the grocery store, you might buy enough food to last a week or two. There’s some diversity there. You don’t just buy 5 heads of broccoli and call it a trip.
oAnd yet that’s rather likely to happen when you’re gardening.
Yes, it’s a blessing to have an abundance, but you must be able to preserve the abundance in such a way that you are able to eat it here and there, as you need it. Otherwise your kids are liable to grow tired of, say, turnips and you’ll be forced to come up with interesting ways to serve them. Ultimately, and completely hypothetically, you might resort to baking a turnip pie. Perhaps not your finest culinary moment but, you know, if you put enough sugar in something… did I mention this was hypothetical?
As David mentioned yesterday, we recently harvested grapes, both our cultivated ones and the wild ones growing along the fence. What fun! But, what do you do with them? Sure, the kids will eat just about anything. If we had simply left them out on the table, the little grazers would have polished them off in no time. But we like to make things stretch around here. Most of the grapes were small, with a bunch (my turn for a pun) of seeds in them. In my mind, they were screaming to be turned into jam.
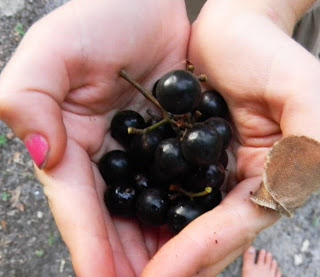 |
| Pink nail polish: check! Bandaid: check! Wild grapes: check! |
Disclaimer: We’ve made jam, of one sort or another, every year, so for me the process has become a no-brainer. If you’ve never done it before, or you’re a bit rusty, you might want to read up on some basics before jumping right in. Botulism isn’t fun! Also, this is probably not the recommended, gourmet way to do this, but I don’t really care. It works, and it’s easy.
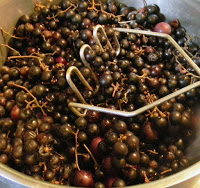
First, put all the grapes, stems and all, into a large pot along with about 1/4 cup of water. I turned it to high, and when it started to sound like the water was heating up, I turned it down to medium. I think a lot of recipes will tell you to start at medium or medium-low, but I’m impatient. I want things to get up and get going, but not burn. Just keep an eye out and you’ll be fine.
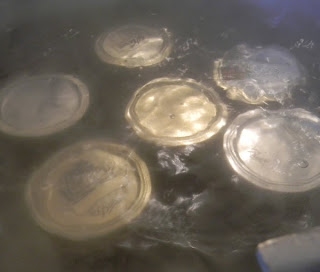
Fill your largest, widest pot a little more than half-way full of water. Cover and bring to a boil. Turn the heat off but leave it on the burner.
Put all the spoons in your silverware drawer into your freezer. Yes you heard me right. Just go do it. You’ll need them later.
While that’s happening, get a bunch of half-pint jars out and wash them along with their lids and rings. Now here’s a trick for you, the manufacturers of these lids will tell you that you can’t use them over again.
IT ISN’T TRUE!
They can be reused over and over again, but you have to make sure they are sound! Test them. As long as the dome on the top will pop down and up again, they will work. Also, take a look at the rubber seal–the part that touches the top of the jar. If it makes contact with the jar all the way around its rim, it will work. The same goes for store-bought jars and lids. We’ve saved them from store-bought jam, salsa, you name it, so that we don’t have to buy new jars each time we want to can something.
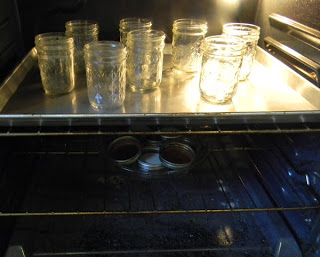 After the jars and lids are washed, sterilize them by putting them into the oven. I place the jars on top of a cookie sheet on the top rack of a cold oven and the lids into a pie plate below. Then turn the oven on to its lowest temperature. When the oven is finished pre-heating, the jars and lids are finished sterilizing. At this point I turn the oven off and leave them in there until I’m ready for them. I find this to be much simpler than dipping them all into boiling water.
With a potato masher, mash the grapes every now and again to help them release their juices.
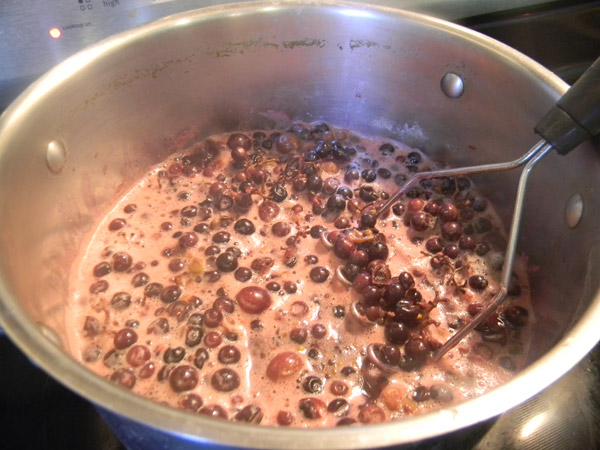
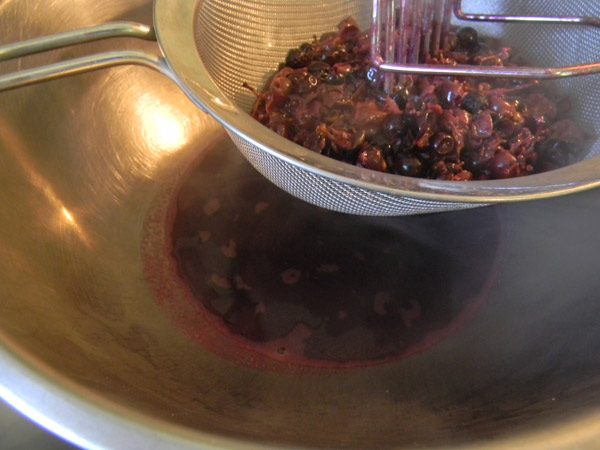
When the grapes themselves have turned to mush, you’re ready to strain your concoction. I used a fine mesh metal strainer and mashed small batches at a time. If you have a food mill I recommend using that.
This is when purists are probably screaming. “Who’s ever heard of grape jam. You’re supposed to make jelly from grapes. And you can’t squeeze or press the juice out or you’ll end up with cloudy jelly!” I don’t really care if my jam is cloudy. I think my method is a lot faster than waiting for gravity to do its magic. That’s why I call it jam and not jelly.
Once you’ve pressed out as much juice as your patience will allow, measure it.
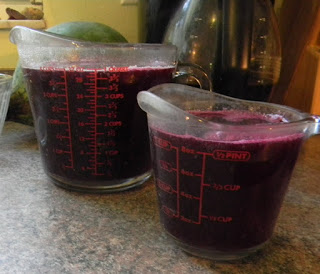 The USDA publishes recommendations on all sorts of jams and jellies. I just looked up how much sugar to add per cup of grape juice and went with that. This is pretty important. If you don’t get enough sugar in there, it can cause the jam to spoil–and you may not always be able to tell when that has happened.
Rinse out the large pot and put the juice back in along with the sugar and bring to a boil. Reduce a tad to between a boil and a simmer, then sprinkle in a tablespoon of pectin. I prefer the little jars of “low to no sugar needed” stuff. Stir for about a minute. Now take one of the spoons from the freezer and drop a small amount of jam on it. Tilt it downward. If it sets up, touch it. Does it feel like the thickness of jam? Then you’re finished with this step. If not, add another tablespoon of pectin, stir for another minute and re-test on a frozen spoon. Do this until you reach the desired consistency.
Turn the heat back on to high underneath the large pot of water.
Remove the jars from the oven and ladle in the hot jam. Wipe the rims clean of any sticky jam so the lids will have a good surface to stick to. Put the lids on, but don’t over tighten them. Just finger tight will do. Use jar tongs to place the jars into the pot of boiling water. The water should cover the lids. If it doesn’t, add more. The USDA told me to boil these half-pints for five minutes. Different recipes and jar sizes call for different lengths of boil time. Be sure you look it up as this can effect how the jam keeps.
After the allotted time, remove the jars and listen. As they cool, the domes on their lids will pop down. After they have cooled, check to make sure they all popped. Any that haven’t won’t keep on the shelf but will last for a week or two in the fridge. You could attempt to re-seal them.
This rarely happens to me, but when it does, we just eat it right away. Label the jars with the month and year. They should keep in a room temperature, dark place for one year.
And there you have it: your own wild grape jam!
(how to make muscadine jelly, making grape jelly, make wild grape jelly, make grape jam, preserving wild grapes, canning grapes, muscadine jam)

5 comments
The spoons-in-the-freezer trick is a good one! Thank you.
i love your techniques! they seem like they would save a LOT of time over the more conventional instructions :)
Better to order "Tattler" re-useable lids and rubber seals than take a chance on re-using lids that might not seal and you get sick. I never reuse a lid other than for craft projects making windchimes, etc.
[…] We do have wild muscadine growing & beauty berry. Very good. I like both of those. Wild muscadines make amazing jam. I think we have a couple of avocado sprouting up where I’ve thrown food scraps. It may live […]
I didn’t know you could boil them stems and all. I have seperated about 2/3 of them but after reading this I’m gonna throw the rest in the pot as is. Thanks for your hot tips.
Comments are closed.