When I was searching for a bow and saw the price of arrows, I immediately started thinking about creating some homemade arrows instead.
Arrows are expensive. The cheap target set I bought cost me about $3 each – and good ones cost around $10 each.
That’s not good, especially with my aim. So I set to work doing something about it.
I finished my first homemade arrow this morning and was pleased to find that it worked well.
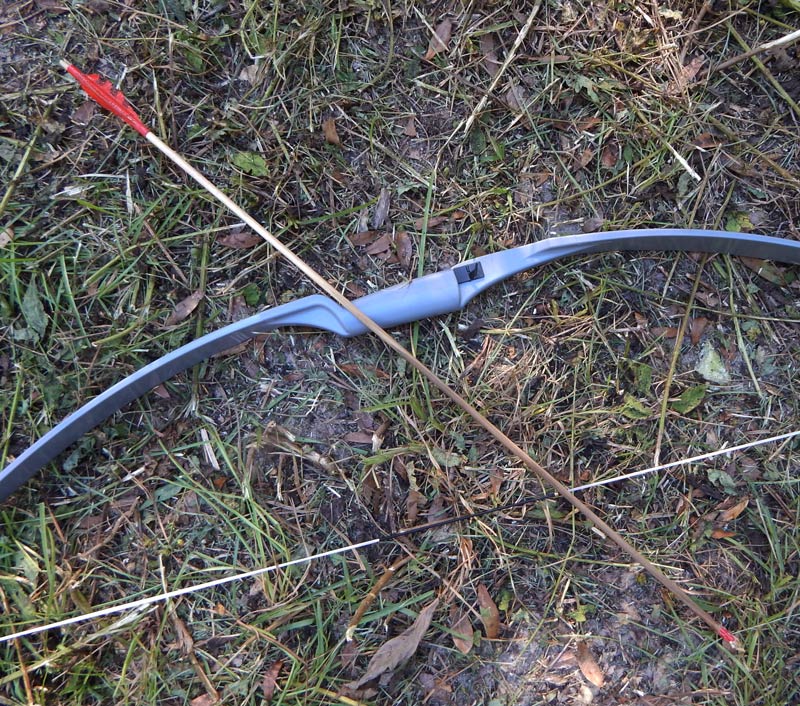
The bow with it is the wonderfully affordable PSE Snake, a plastic full-size recurve bow that’s actually a lot of fun to shoot and near indestructible. It has a 22lb pull, so it’s not good enough for serious hunting, but it’s great for target practice and sticking squirrels.
And it costs less than $40. Perfect.
The reason I shot this one instead of my Samick Sage is because I didn’t want to try an untested arrow made from a light dowel through a 55lb string pull. Just seemed like a bit too much stress. I’ve got some heftier dowels I’ll use for additional arrows then I’ll send those through the Sage.
So – here’s how I made the arrow.
First, I took a factory arrow to the local hardware store and matched its diameter to a dowel in the dowel display. The dowels cost $0.49 each, so I bought a dozen to play with.
Once I had the dowel. I cut notches at either end – one for the “nock” at the back of the arrow, and the other to receive an arrowhead.
That was the easy part. The next part was making an arrowhead. I used an old key that was in a junk drawer out in my barn:
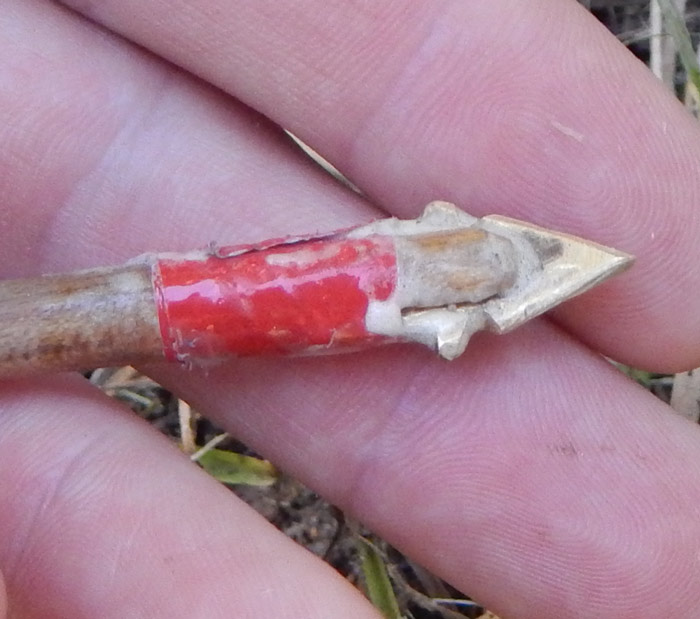
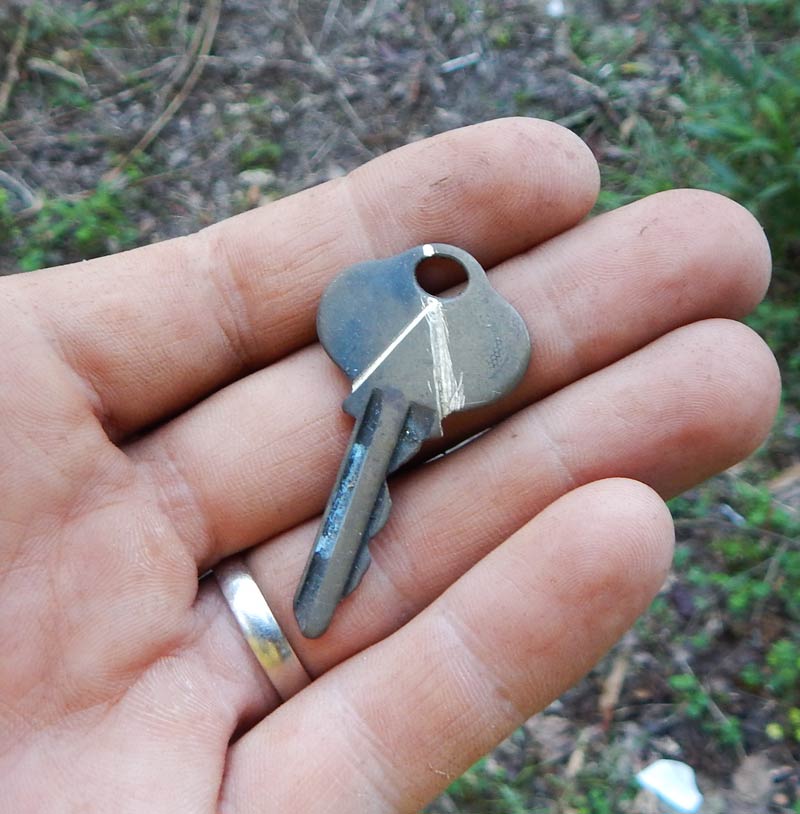 Here I’ve marked two grooves into it with the edge of a triangular file. Next I cut half the key portion off, removed the handle of the key around the arrowhead, then fit it into the shaft.
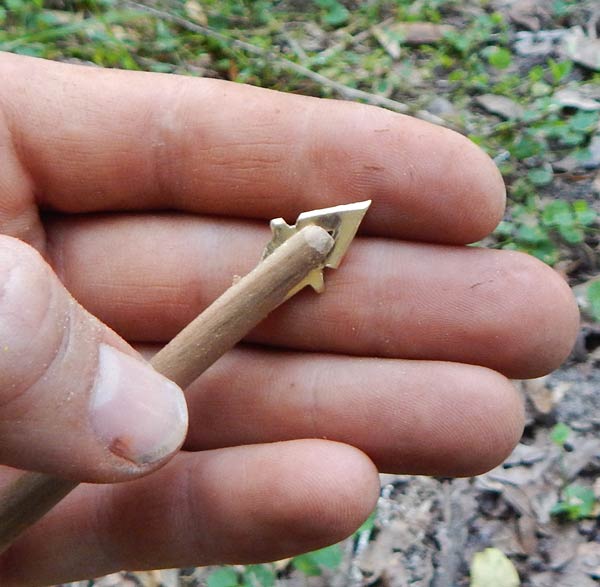
I cut the two notches at either side of the arrowhead because I originally intended to lash it on with some sort of thread coated in wood glue, similar to a sinew-attached primitive flint head. I changed my mind, though, and just used Gorilla Glue and a little strip of red duct tape to secure it into place.
Looks a bit rough but its incredibly solid. Good enough for a prototype!
Now I had to do the fletching (that’s the feather part of an arrow). I looked up some various ideas on YouTube and saw a couple of folks had used duct tape.
Perfect!
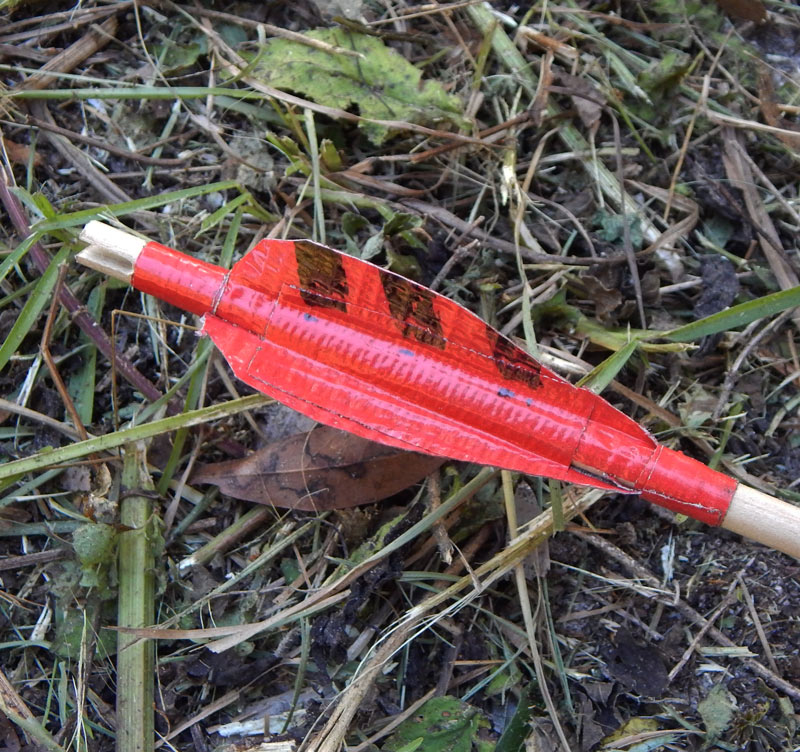
I folded over some duct tape and left flaps with some sticky exposed so I could attach them to the shaft, then carefully placed them a little up from the back nock, then trimmed them nicely with a pair of scissors until they matched.
The black lines I drew on with a Sharpie to mark the odd feather that goes on the outside when an archer shoots his bow.
And that’s it! Complete cost (the key was free) was around 50 cents (maybe more like $0.53 when you could the tiny amount of duct tape used).
Here’s the video we shot yesterday afternoon of this sucker in action:
Lots of fun. Now I just need to get a little homemade arrow assembly line going and I’ll be all set.

2 comments
I have that same PES bow. It’s great. I like it more than a good 60lb-draw compound that bought off of craigslist. The compound is just waaaaay overpowered for friends & family… the arrows just launch like rockets (if they can even pull it back). Plus I don’t like the complexity; the cams, vibration suppression systems, the wrist release trigger thing… it’s all just too much.
But the PES is approachable, and like you said, you could probably get a squirrel or rabbit but I don’t really know about that.
Yes – it’s really fun to shoot and is a great way to throw some arrows around.
Comments are closed.