Last week I posted a new video on how to plant yams:
This is my favorite survival food crop, as well as one of the most fun to grow. The hard part is getting the ground ready!
How to Plant Yams
Yams are one of the best survival crops in the world. There are multiple varieties, from the Lisbon yam to the yellow yam, the potato yam to the purple yam. They are all in the Dioscorea family and are not to be confused with sweet potatoes, which are not even slightly related.
Here’s how to grow yams:
Step 1: Dig beds
I use a broadfork to loosen the soil. It’s good to have help with this part.
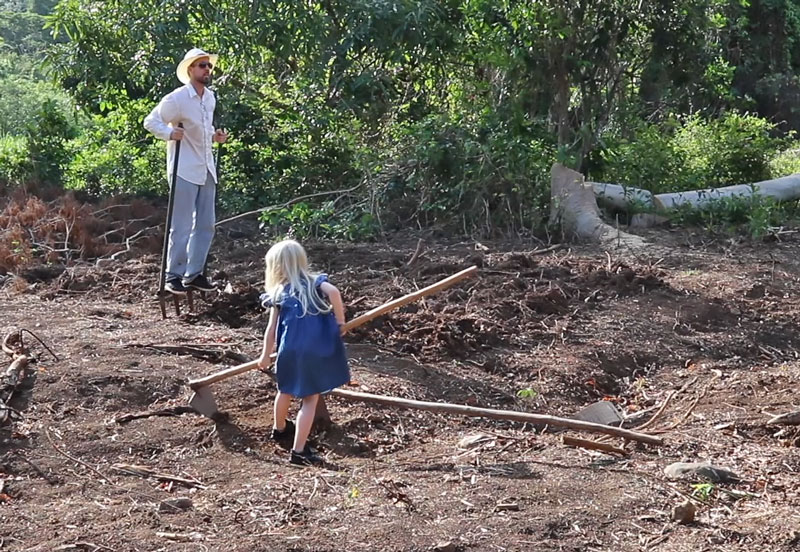
Loose soil is important for yam growth. It is also important to have fertile soil. Rotted animal manure is a good option and is preferable to chemical fertilizers, unless you live in a place where Dow Agrosciences is pitching their poison. In the case of my yam beds, I do not need to add fertilizer or manure because the ground is newly worked and is filled with nitrogen from the leguminous trees we removed.
Once I have loosened the ground deeply with my Meadow Creature, I shape the beds with my digging hoe.
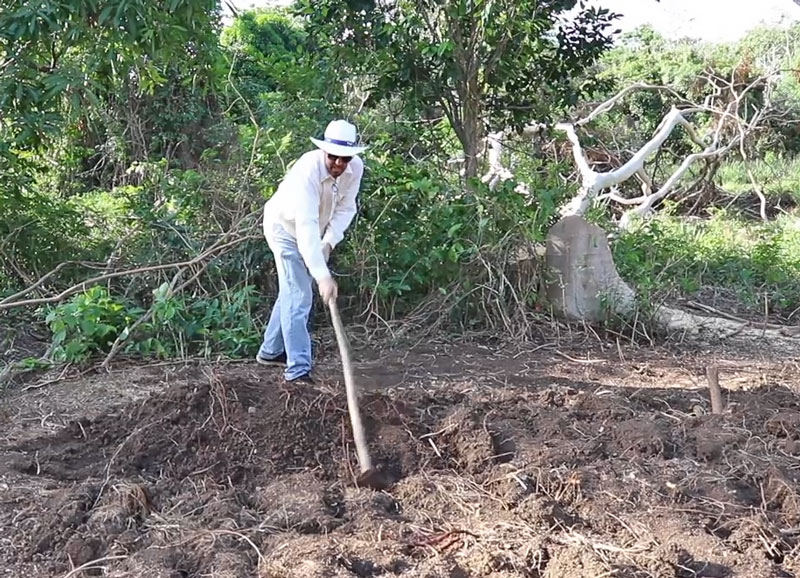
I give the yams plenty of space to grow. I also make good-sized mounds because yams do not like wet feet.
Step 2: Plant Yam Pieces
Yams can be started from pieces of the roots, from the “heads” of the previous year’s growth, or from aerial bulbils on some species. Plant, but not too deep, knowing that the yams will grow down from where they are buried.
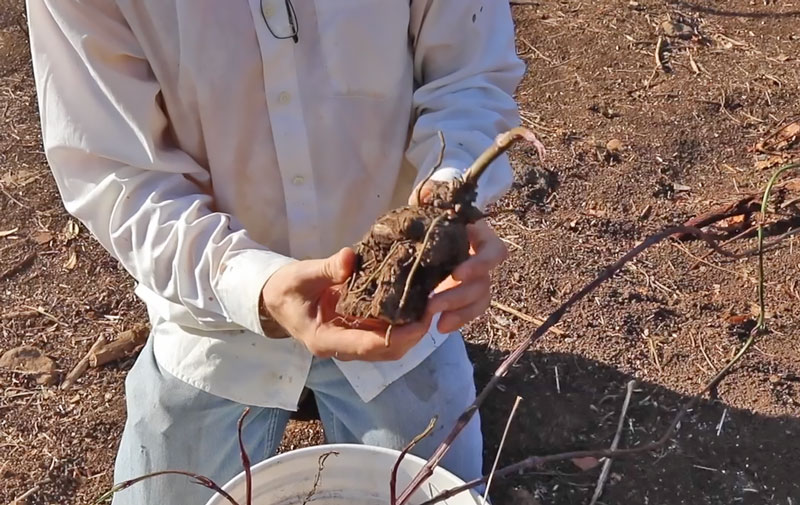
The “head” of a yam
Here’s the minisett method of yam propagation:
Step 3: Add Support
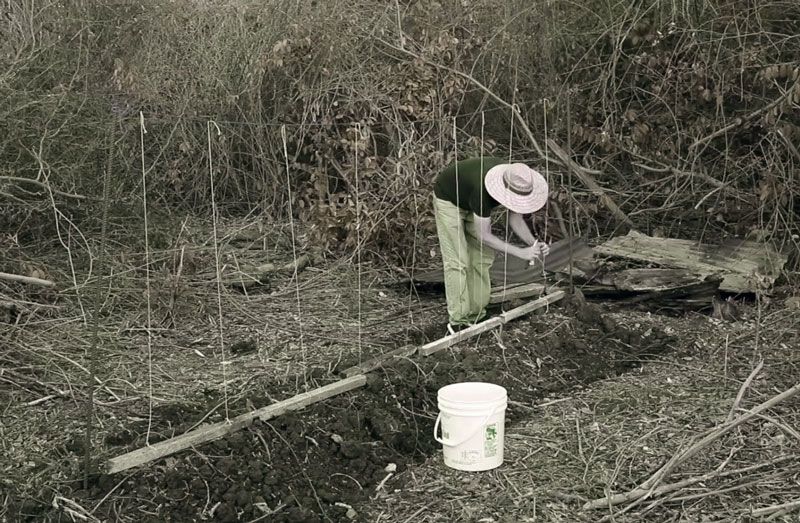
Though you don’t see this part in the video, this is the next step you must take. Yams like support so they can climb into the sun and grow. If you don’t stake them, they won’t produce. In a future video I will demonstrate my staking method. A very common one is just to stick sticks in the ground, like so:
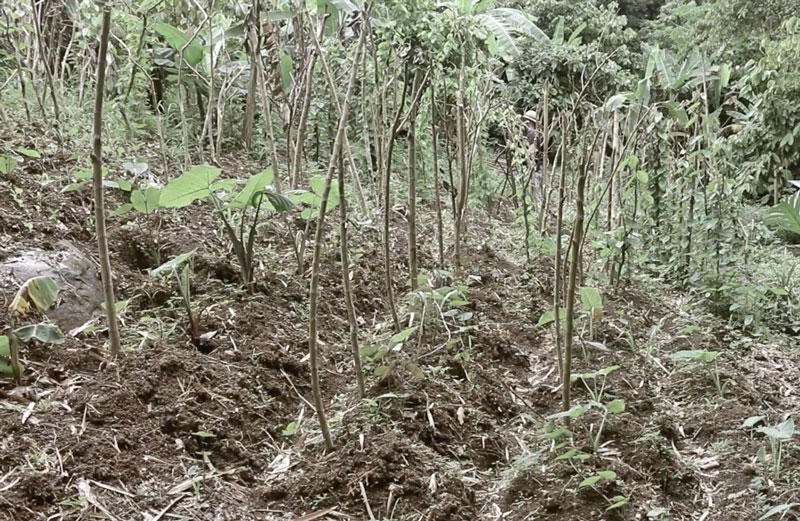
I now prefer to do this:
Step 4: Keep Yams Weeded and Watered
If you don’t get rain, be sure to water your newly planted yam beds. Yams are a tough crop but they do better with water. Also keep your yam beds weeded so they don’t face root competition during the growing season. I weed between rows with a hoe but near the yam plants I weed by hand so as not to damage the vines or roots.
As you weed, be sure to direct wandering yam vines onto your trellising system so they don’t wander off along the ground.
Step 5: Harvesting Yams
When the vines die back in winter, it is time to dig your yams. Carefully dig around them so as not to cut into the roots, then wash them gently. Here’s how I dug one up from my old Florida food forest:
The heads can be removed before selling the root, as you’ll want them for next year’s planting. If you are not planning on selling the yams, you can just leave the heads on until you want to eat the yam yourself.
Speaking of that, Sue asked a good question on my YouTube video about yam planting:

Yams taste starchy, like a white potato. Not sweet, with the exception of the “potato yam,” which is slightly sweet. Some varieties can be a little bitter but I avoid those.
Thanks for reading. Go plant some yams!

2 comments
Thank you for the post. We have different species of yam in Nigeria, this include water yam, yellow and white yam, and the tubers are very large on good soils.
Do you use irrigation for yam farming?
Do you also grow cocoa yam?
Thank you
[…] You can read more on how to plant and grow yams in this post. […]
Comments are closed.