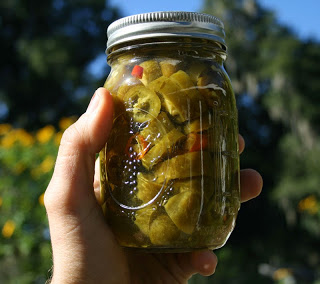
 This year I started a bunch of hot peppers in the greenhouse for folks to grow in their gardens.
Some of the plants that didn’t sell got too big for their little pots so I decided I would go all-out and plant about thirty of them in my fall garden.
That means I’m raking in plenty of peppers right now. I’m making my own ground red pepper, of course, but I’ve also been experimenting with canning my own jalapeno slices (I started with this simple recipe I found online, then expanded on it).
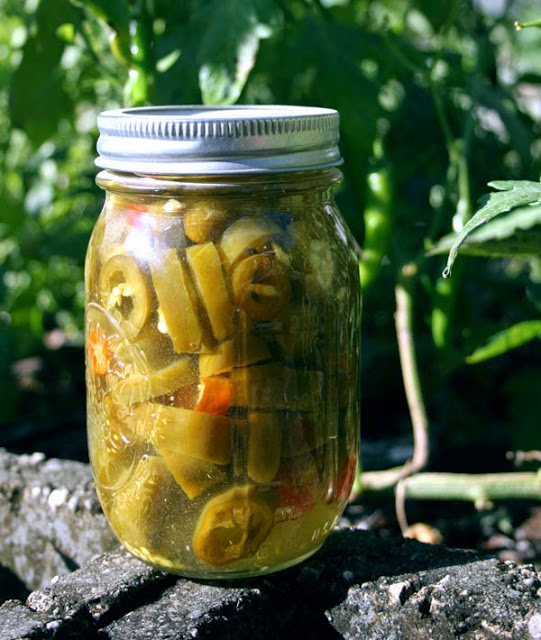
I finished my second batch this week and I think my recipe is ready for prime-time.
The flavor… oh my goodness… the flavor. These pickled jalapeno pepper slices are incredibly good.
Are you ready to can your own? Here’s how I do them.
Ingredients
4 lbs jalapenos
1/2 cup sugar
1/4 cup sea salt
1.5 quarts vinegar
1.5 quarts water
6 cloves garlic
Dash of turmeric
2-3 hot red peppers (any kind)
Sprinkle of pepper
Sprinkle of mustard seeds
Yield: 6 Pints
Note: Before step one, wash your canning jars and lids so they’re ready to go.
1: Pick Your Jalapenos
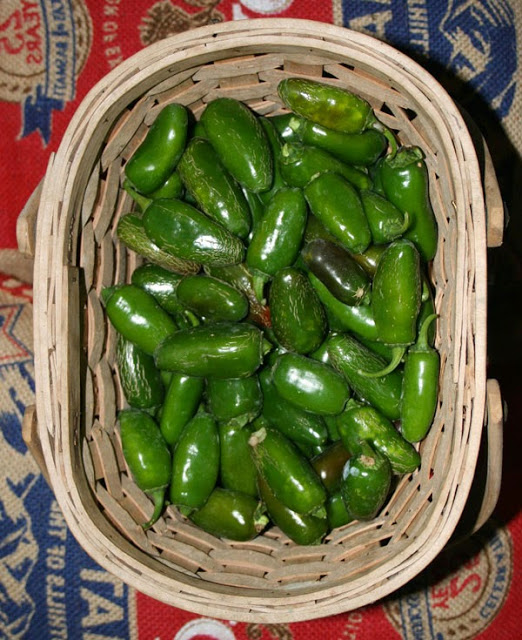 |
| Crisp green jalapeno peppers fresh from the garden |
That’s about 4-5lbs of Jalapenos. Two weeks later, I picked another 4-5 lbs. Yeah, that’s the way we roll in my garden.
I like to pick mostly green ones but leave a few reds to ripen here and there. They add color and a sweetness to the mix. I also toss in a couple of cayennes when I have them.
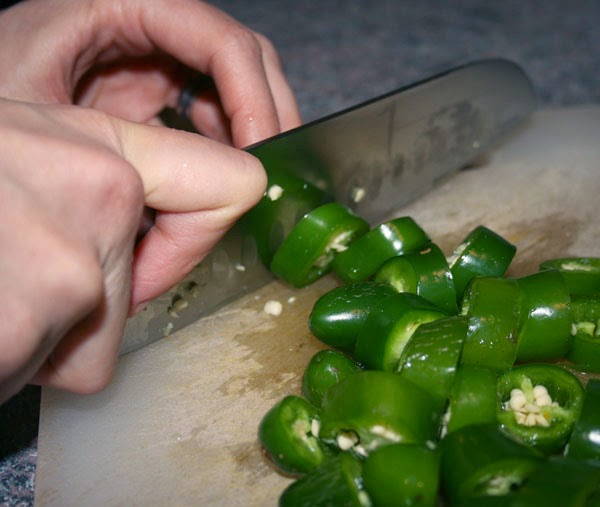
2. Chop Your Jalapenos
Or just have your wife chop them. Extra points if your lady is as foxy as mine.
I tend to chop them in perfect circles; however, ellipsoids also fall inside pickled jalapeno orthodoxy.
One thing that’s amazing about homegrown jalapenos is how crisp and juicy they are. The quality you’ll get from your garden is far beyond what you can buy.
PRO-TIP: For extra fun while chopping jalapenos, touch your eyes.
3. Start Your Brine
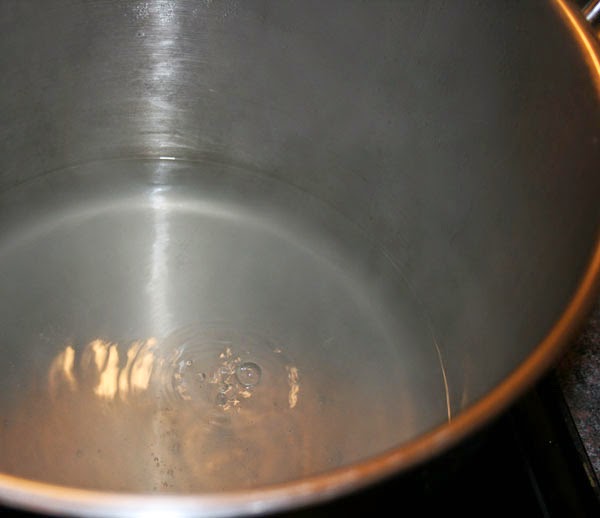
Mix your vinegar and water together, along with your salt and sugar, then bring to a boil.
I tend to throw in a dash more or less of salt and sugar according to taste.
If it’s zippy and a little salty and sweet, it’s good. (My two favorite salts are Himalayan pink salt and Celtic sea salt. I get them both from Amazon in the 5lb bags. Regular table salt is a factory product with some ugly additions… my understanding is that real salts contain micronutrients and a much better balance of potassium and sodium, among other things.)
4. Pack Your Jars
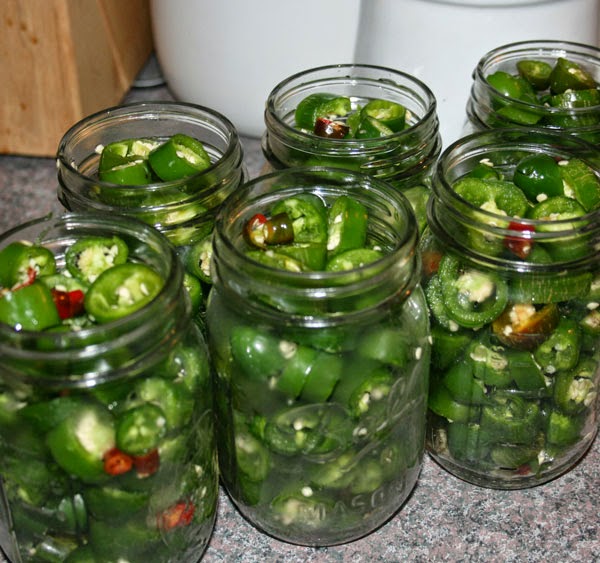
This is where you get to see how pretty things are going to be.
Isn’t that great?
Pack in the jalapenos as tightly as possible, then mash them down further and pack a few more in. Otherwise, when the jar is canned they’ll get a little thin as they cook.
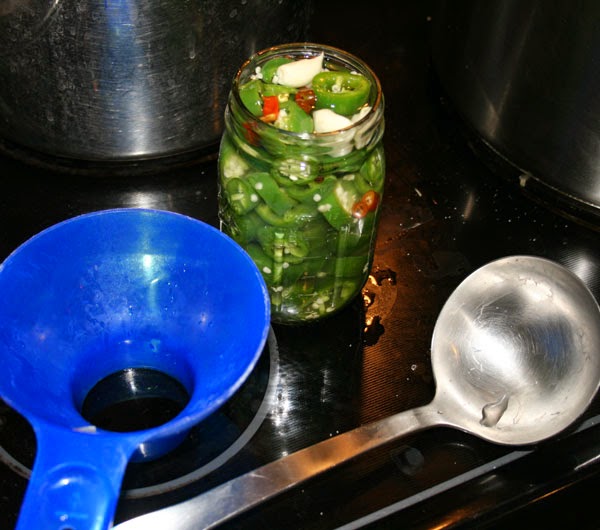
Once the peppers are packed in, add a pinch of mustard seeds, a pinch of turmeric and a pinch of pepper, along with a chopped garlic clove in each jar.
5. Pour On The Brine
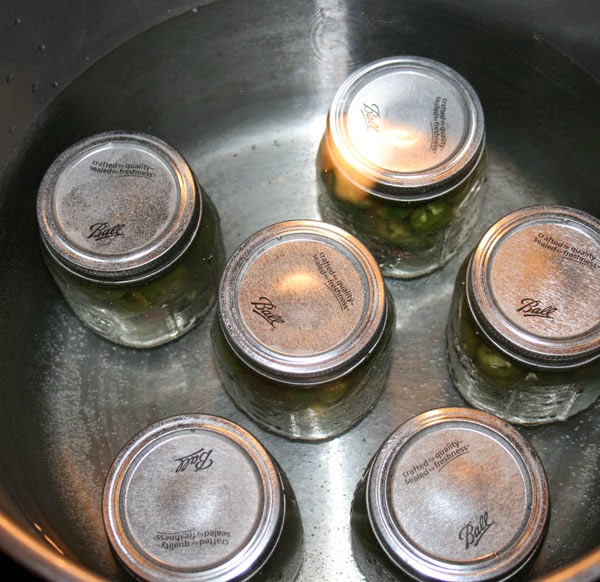
Canning is easy when you’re dealing with pickles. You’re not going to get a horrible disease if you mess it up, since the vinegar keeps the food good and safe. I boil my pepper pint jars for 10 minutes in my excellent stock pot.
Make a batch and let me know how they turn out!
Shop at Amazon and support Florida Survival Gardening

7 comments
It is hard to tell from the picture, but is the water above the jars in canning? Just regular water bath canning?
Yes on both. Because they’re jarred in vinegar, there’s no need for the high heat of a pressure canner.
[…] doesn’t need to mean freezing or drying either. It might mean root cellaring, canning, pickling or making jams and chutneys. If it makes your abundant harvest last longer so that you are provided […]
Is that sediment at the bottom normal? I canned mine and it has a kind of a tan fluffy sediment at the bottom… kind of leary. It’s all sealed though! I used the heinz all pickling base and added the extra pickling salt for the crisp and now I have the extra sediment in my jars. Mostly towards the bottom.
Yes, it’s normal. No worries.
Thanks for the recipe. I’m planning on tackling my first batch of pickled jalapenos this year. Nice write up and step by step process. Can’t wait for the harvest to come in.And thanks for the pro tip it’s awesome.
Good luck!
Comments are closed.