Today we’ll look at how to make a simple cattle panel trellis for the garden.
Along with zip ties and duct tape, cattle panels have many uses on the homestead. When I was visiting my friend Elizabeth a few weeks ago, I saw her little cattle panel garden trellises made from scrap pieces of cattle panel and thought, “hey – that’s just what I need in my Grocery Row gardens!”
These are my Grocery Row gardens:
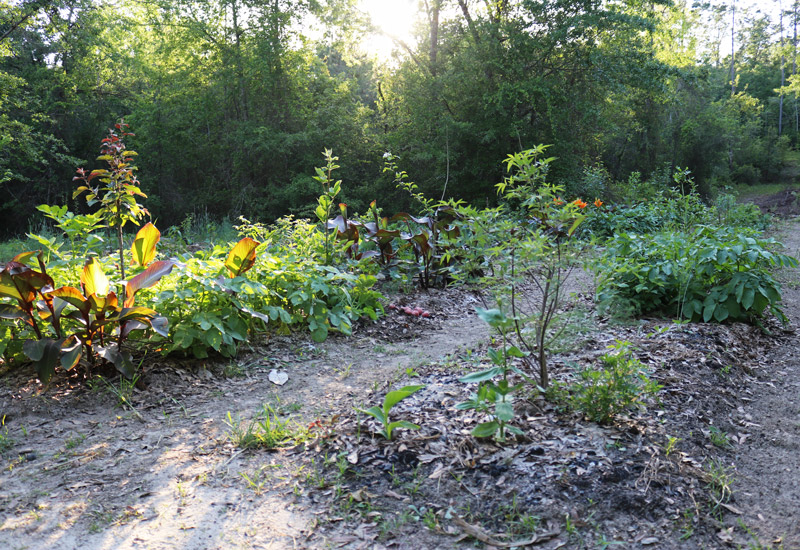
It’s a system of annuals and perennials I’ve been planting in 4′ wide beds with 3′ wide pathways in between. The crops change with the seasons. Right now we’re harvesting the final round of brassicas: broccoli, cabbage, collards, kohlrabi and mustards. Some are headed into the kitchen to be fermented, canned or frozen while others, like slug-eaten cabbage heads and the remnants of the mustard cover crop, go off to feed the chickens.
As I harvest, gaps are left behind. We’re getting close to summer, so many of the gaps are being planted with okra, bush beans and sweet potatoes. However, there are some super-productive vining vegetables that would be nice to tuck into these beds, such as angle gourds, snake gourds and yard-long beans.
That means we need trellises. This week I am building five of them and may make more. I don’t want anything that requires me running lots of strings. It needs to be sturdy, but I also don’t want anything permanent. When the summer ends, we will probably take these trellises out and re-plant brassicas for the fall.
So I’m building little cattle panel trellises that should serve us quite well for many years to come. Here’s how you can do the same.
How to Build Simple Cattle Panel Trellises
First, go buy your cattle panels. They usually come in 16′ sections. I bought 8′ ones instead because I was tying them to a vehicle and the 16′ ones were expensive and had a tighter mesh. You want the wider gaps for climbing vegetables. When you get your panels, buy T-posts as well. We got 6.5′ ones, which are perfect for this job. Now it’s time to build!
Step One: Measure Your Cattle Panel Trellis
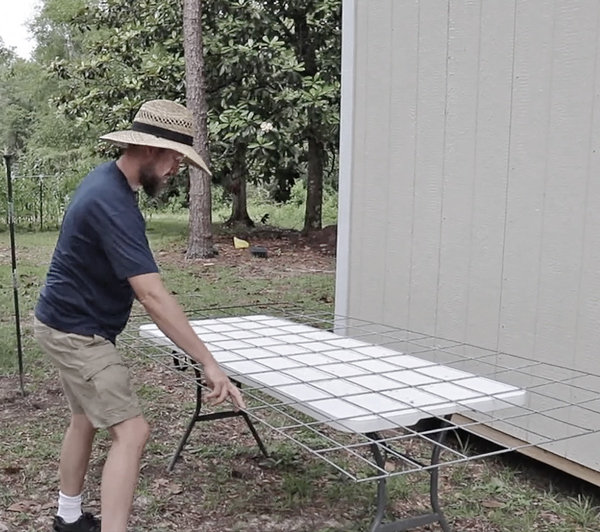
I stretched my arms out to measure roughly 6′. If the cattle panel trellis is too tall it may get unwieldy. I stuck an 8′ one in the garden as a test but it feels too tall for me and I’m not sure how it will do with just a single T-post holding it up.
Step Two: Cut Your Cattle Panel
My favorite method is to use a pair of bolt cutters, though in a pinch an angle grinder is good too.
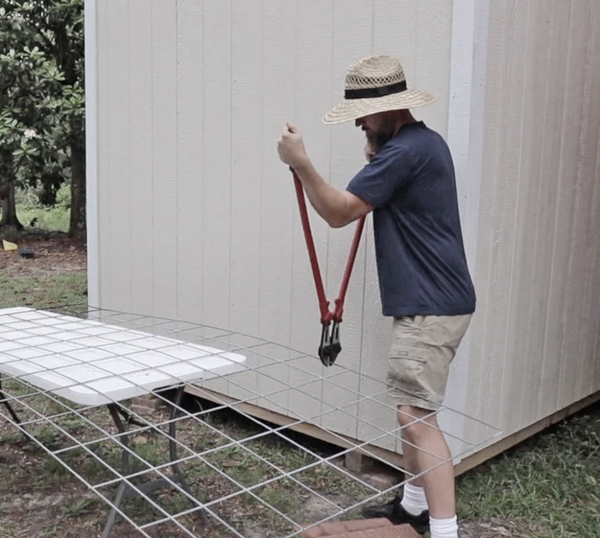
When I cut, I cut in the middle of a row in order to leave sharp ends hanging off. This will make sense in a minute.
Step 3: Take Your Stuff to the Garden
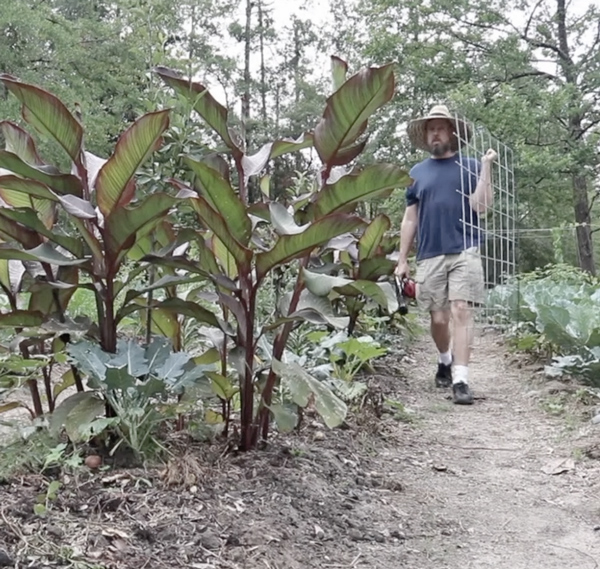
Look at those scary pointy ends! Someone is begging for tetanus!
Step 4: Hammer in a T-post
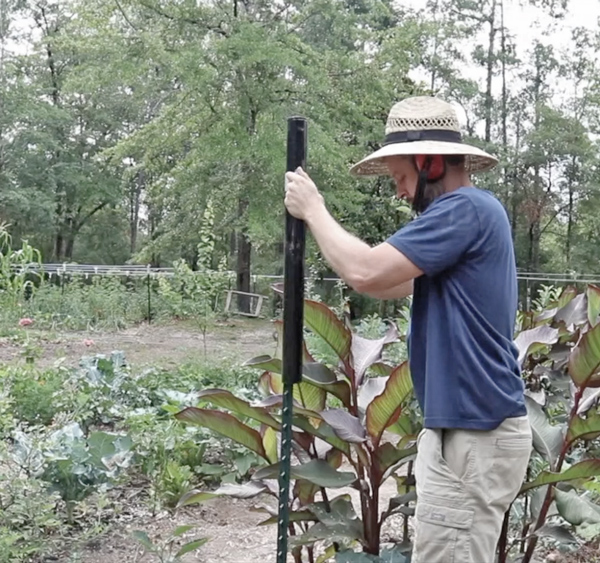
I have a tubular T-post hammer with grips on either side. It’s a huge improvement over the 2lb sledge I used to use to hammer in posts. Your T-post will go roughly in the middle of your cattle panel, so put it in the middle of your 4′ bed and make it as vertical as you can. Hammer it at least a foot into the ground. The flange at the bottom of a T-post makes it remarkably sturdy.
Step 5: Put the Cattle Panel Against Your Post and Step On it!
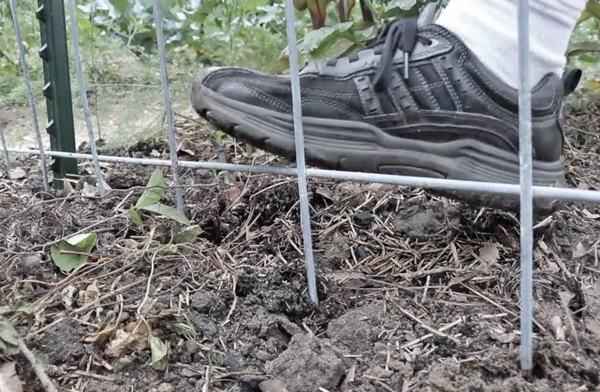
Now here’s where those sharp ends come in. I cut the panel so it will have spikes on the bottom. These stick into the ground, stabilizing the panel. I don’t cut them super long, because I don’t want them to be weak. Just right in the middle is perfect. Set the panel up where you want it, right up tight against the T-post, then step on the bottom to press the prongs into the ground.
Step 5: Zip Tie Your Cattle Panel Trellis Together
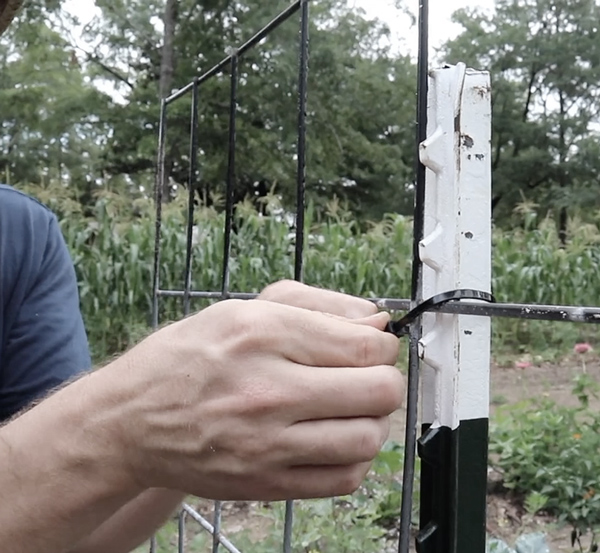
I use three zip ties on my cattle panel trellises but you could probably get away with two.
Step 5: Plant!
I planted snake beans at the bottom of this trellis.
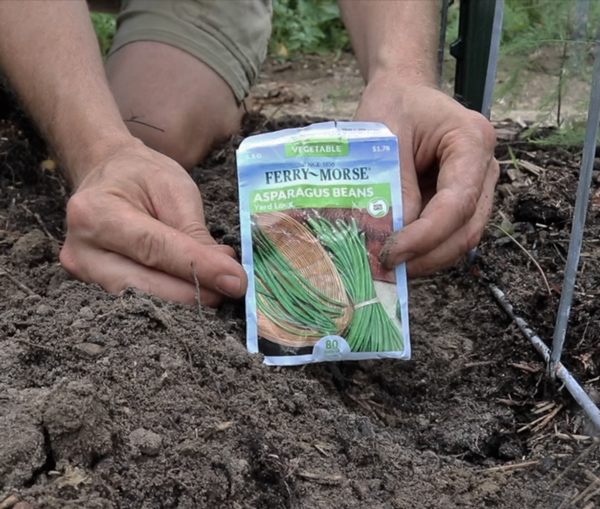
Also known as asparagus beans and yard-long beans, snake beans are a vigorous climbing bean that takes the heat of summer and produces abundant harvests.
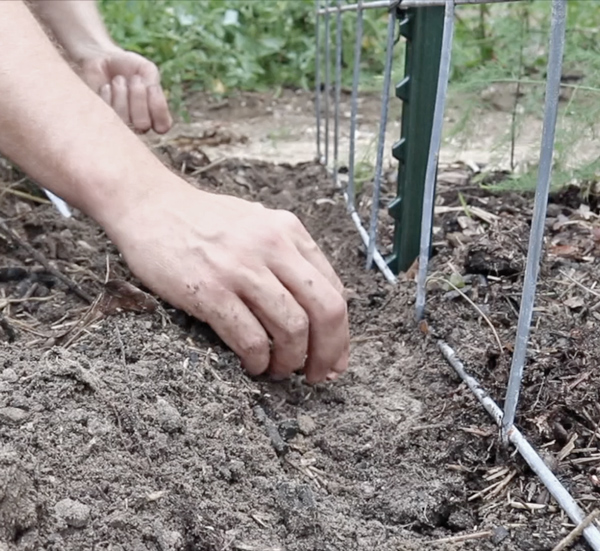
I planted them about 8″ apart in a row along the base of my cattle panel trellis.
Step 6: Admire Your Work
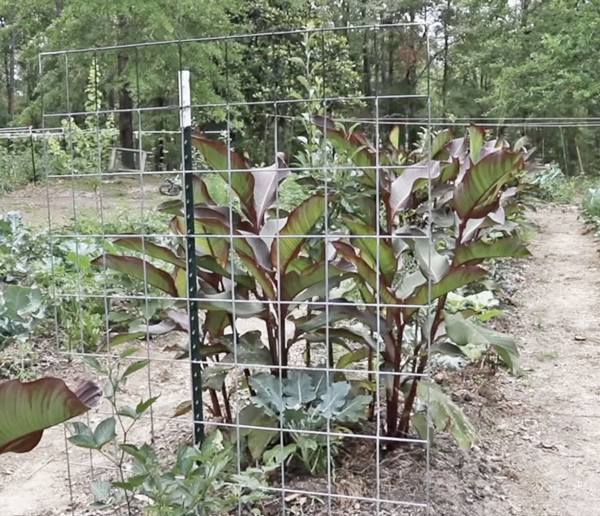
That panel is going to look great covered in beans, isn’t it? I mean, I think it looks great right now. Like a work of ugly Brutalist fine architecture that would be at home in any urban hellscape modern city.
Trust me – it will look even better covered in beans.
Going vertical in your gardens allows you to produce much more in a smaller space. These simple, portable cattle panel trellises are just what the doctor ordered.
You can watch the video of me building one here:
Happy gardening!

13 comments
Thanks for showing how you did it with the one stake. I follow someone else who uses cattle panels but she didn’t show how she assembled them. The cut ends as spikes were great too!
Now to convince the hubby (non-gardener) to get me some!
Thank you, Jen. Leaving those spiky ends really makes it stay put. Much better than buying two T-posts!
The 16 ft panels make awesome hoop trellises on larger beds. Two Tposts…. one on each side of the hoop…..ziptie in place. I’ve used that in the past to let cucumbers or summer squash climb, then been able to grow more delicate stuff underneath like lettuces & spinach.
I would think you would need four to pull that off. I’ll have to try it. Scrubland Avenger had some of those hoops and I always liked the way they looked. Should work well over my 3′ wide paths.
With pole beans you get greater harvests by using a 16 foot cattle panel, bowing it into an arch between two beds. Brace it between four t posts, plant beans at ends and they will cover the whole arch and you can pick beans from underneath. Makes a very attractive addition to garden. You can also put the whole cattle panel down the center of a bed, but five foot is not really tall enough for beans. Learned the hard way when the arch i built for my MIL out produced my single row. Great for cucumbers or malabar spinach though. Plant sunflowers to shade cucumbers.
Yeah, sounds like fun. I’ll have to make one.
“Plant sunflowers to shade cucumbers.” Great tip!!
What do you do with the leftover 2′ sections of cattle fence? Combine 3 to make a trellis?
I’ve been using wire mesh panels (from Home Depot/Lowes- intended as reinforcement in poured concrete). They’re 3×6
and cheap.
I love all of your ideas, David. What you’ve done in so little time with your new property is simply amazing.
Thank you very much. I didn’t realize that wire mesh came in 3 x 6 segments. That’s good for small trellises.
Those leftover pieces will end up as some kind of trellis I’m sure.
I always thought sidewalk cement reinforcement wire was used for trellises. You already published using the wire for DIY tomato cages. which is a fabulous idea. They last forever. Just asking, have you over grown “winged beans”?
The cement wire is not as much fun to work with and rusts like crazy. It’s cheaper, though.
I grew winged beans in N Florida but they didn’t make beans until around Nov/Dec, then the beans froze off. The variety I had must have been daylength sensitive.
Tell me more about the flange at the bottom of your post.
T-posts have a specially designed bottom “stabilizer plate” that cuts into the ground and makes it stay put. It looks like this: http://a0.leadongcdn.com/cloud/ilBooKilSRjjmmiljo/JS-FTPost.jpg
Comments are closed.